7 Steps to making a Pool Cue Kit on your Midi Lathe
|
A lathe with a minimum of 32” Bed. Turning tools: Spindle Gouge, parting tool and 1” skew essential. The Turning Accessories Combo Set #CUEHWS is essential. Select a Shaft and Butt Blank set from page 4. Select a finish accessory décor set. We recommend starting with the least expensive Blank and décor sets to get you started. (i.e. Maple Blank set #CUE01, Economy décor set #CUEJS01) 1) Setup the lathe as shown in Fig 1 (Butt End) Install the Female Chuck mandrel in the headstock. Install extra banjo, long tool rest and Follow rest along the bed. Thread the Male insert into the mandrel. Press the 60deg live center into the hole in the butt end to support the wide end of the Butt blank. Adjust the long tool rest to follow the slope of the Butt Blank. Lock everything in place. 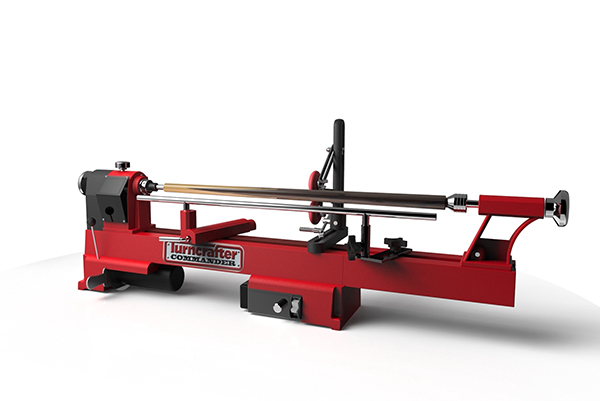
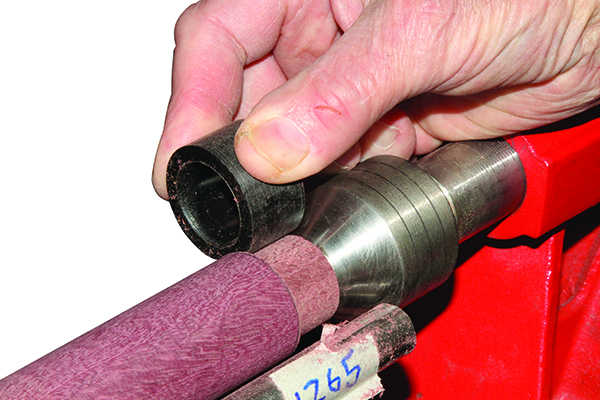
2) Cutting Tenons Measure the décor components you selected and cut tenons at both ends to firmly accept the ID of joint collars and Butt collars selected. Test the Collars for fit before proceeding. Leave the tenon a bit long at the center connection … you’ll want to part of the extra exactly square to the collar for best Cue performance. Glue the Collar at both Ends with epoxy. 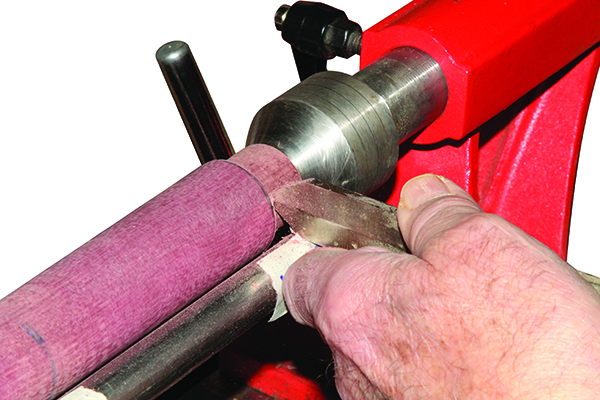
3) Turn the taper Mark 6 graduated diameters along the tool rest. Use a parting tool to cut spindle to those depths, use a caliper to measure accurately. Cut a taper to the diameters marked. Use the Follow Rest as instructed to avoid whip. Cut just short of the finish diameters for sanding. Cut smooth transitions through the décor components. Run a straight edge along the slope to check for a straight cut. 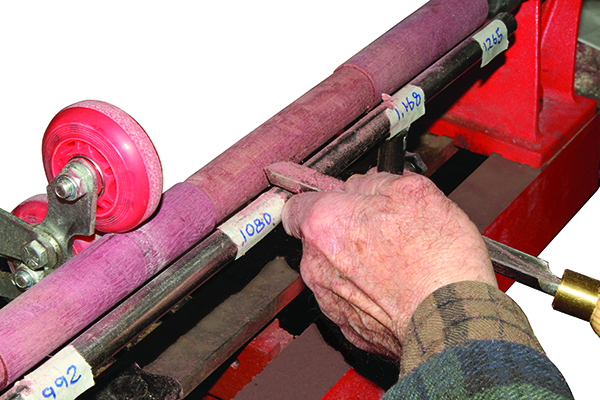
4) Finishing Sand the Blank and collars together with graduated grits for smooth transitions at the connections. Use a block of wood with the sandpaper to assure a flat surface. Finish with a durable finish of choice. We recommend the GluBoost Master Finishing kit #PKGBCSET for a great result. 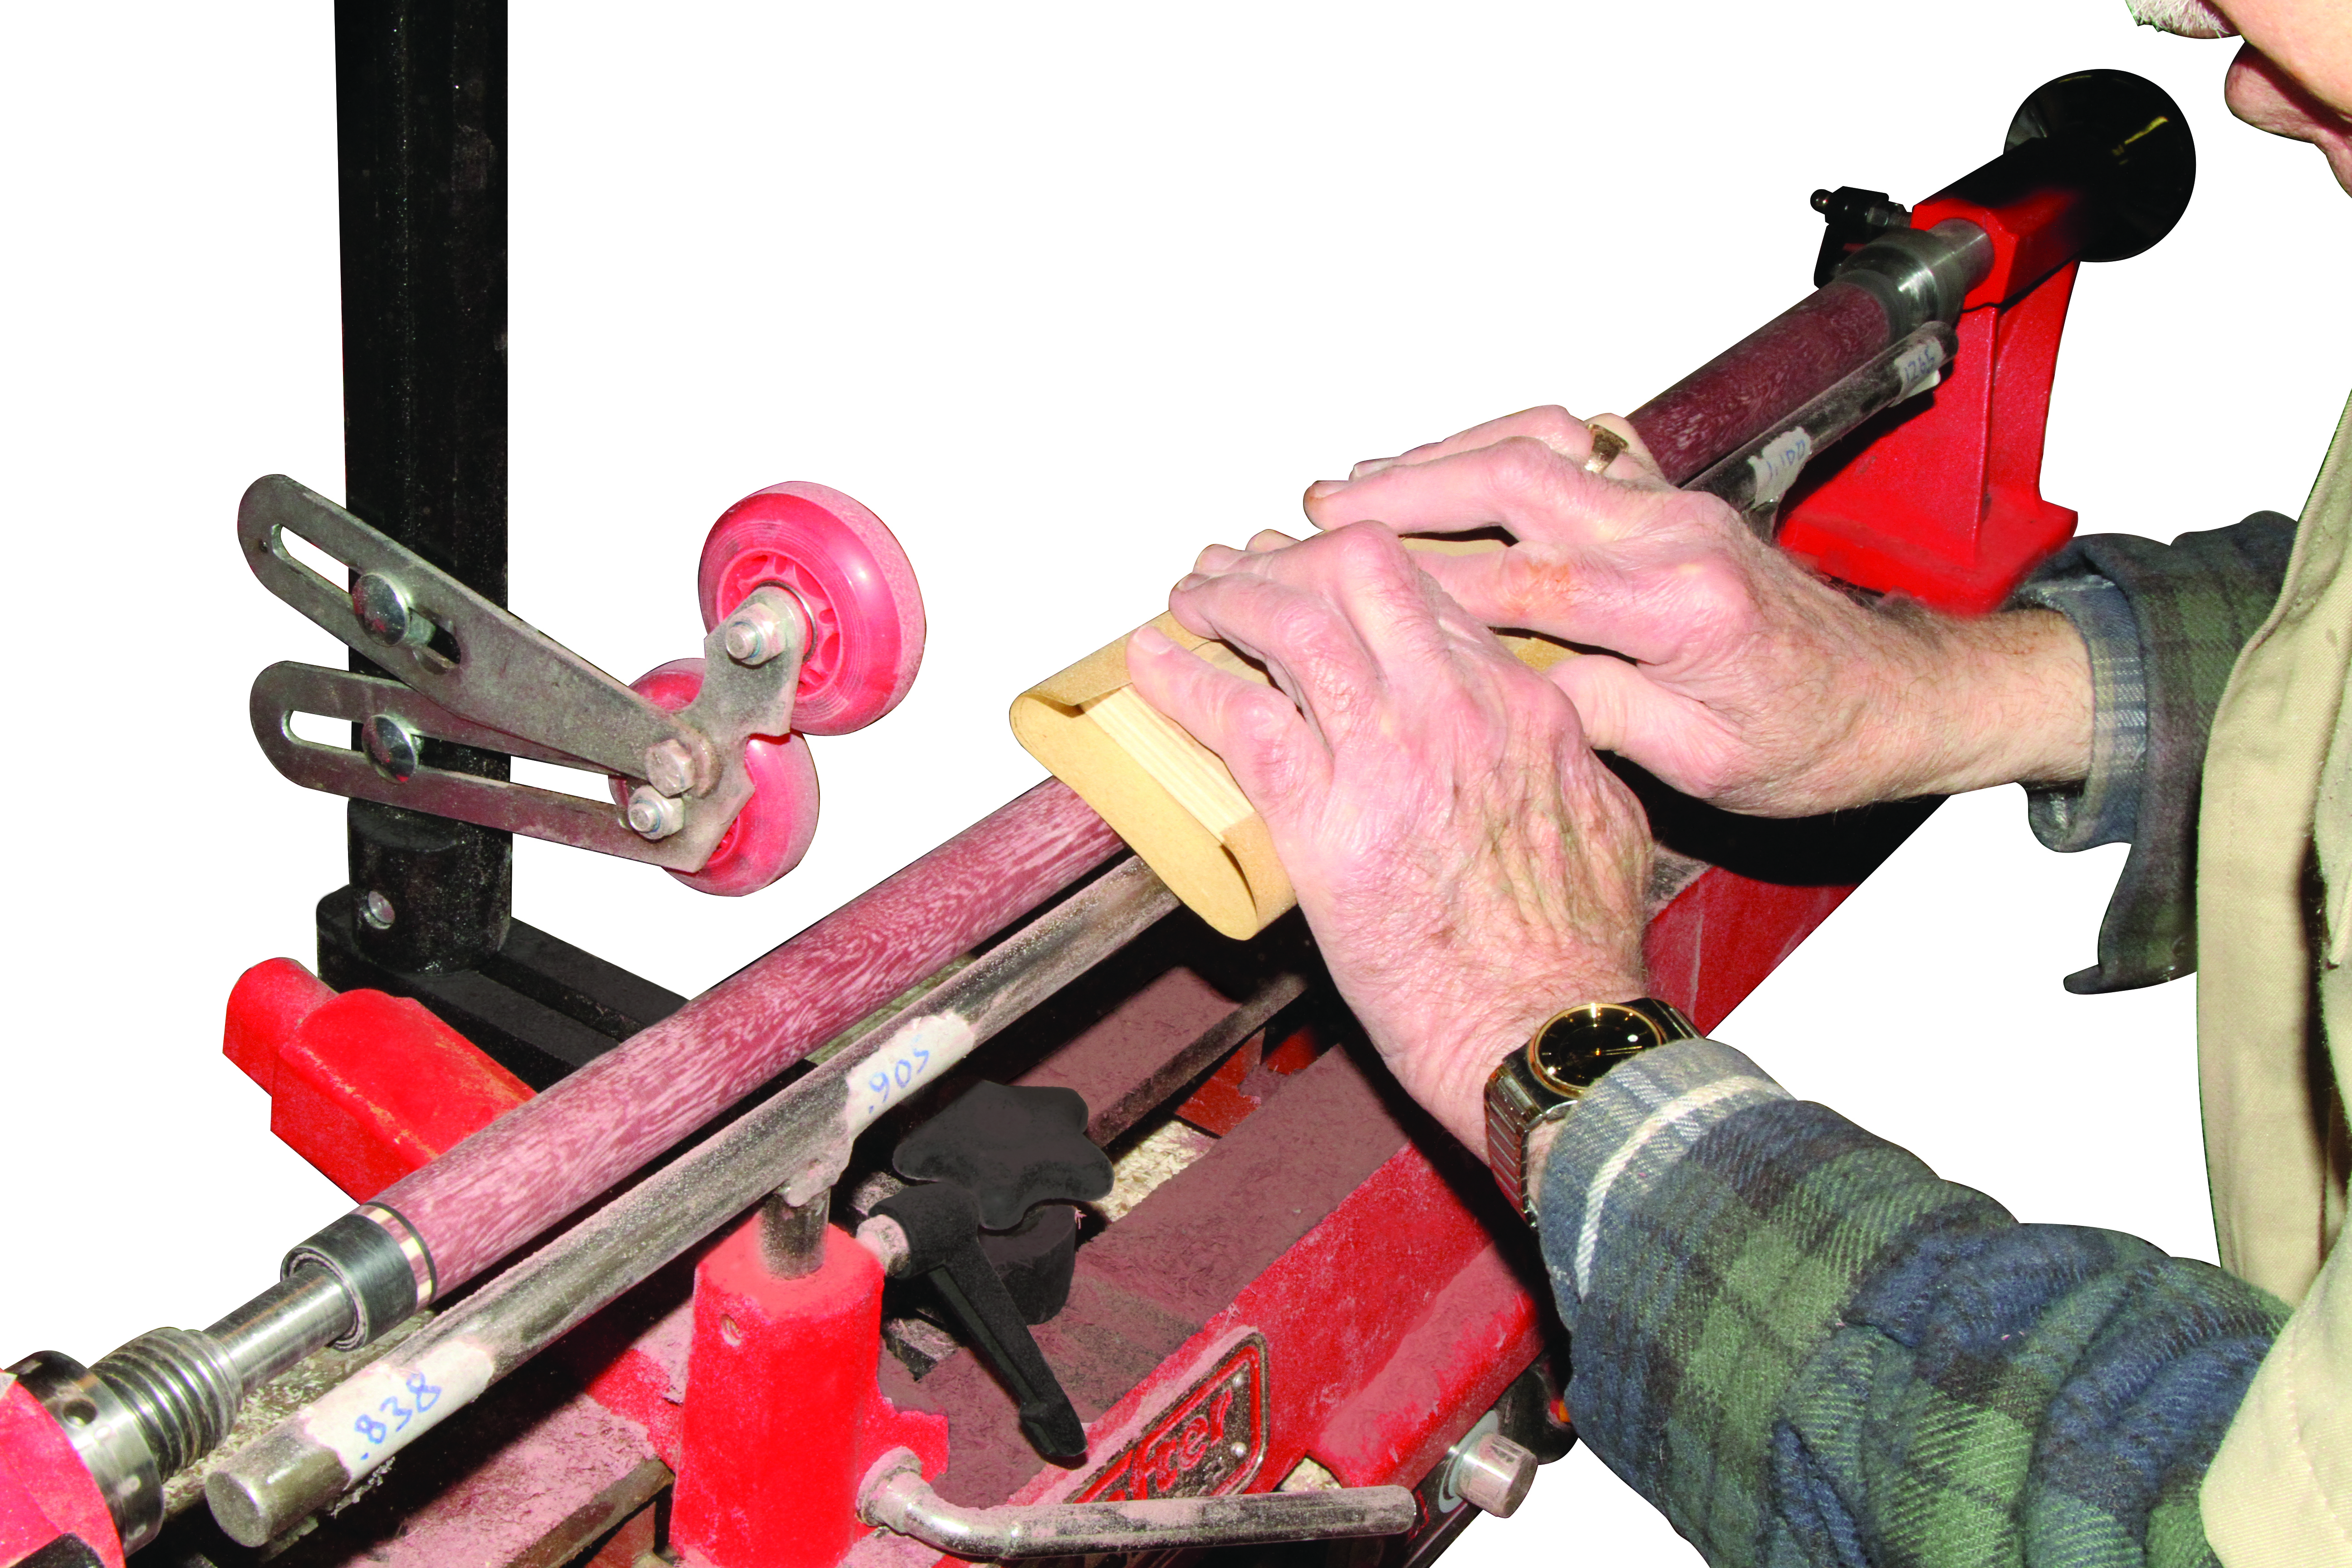
5) Setup cue tip end Install the Male Cue mandrel in the headstock and mount the Cup center on the 60 degree live tailstock center. Screw the shaft onto the mandrel and support the tip with the cup center. Follow steps (2) through (4) but cut a tenon for the joint connection first. Leave the tip end until you’ve cut, sanded and finished the shaft. Leave the wood “bubble” on the tip as you cut the tenon for the tip ferrule. Part off the “wood bubble”. 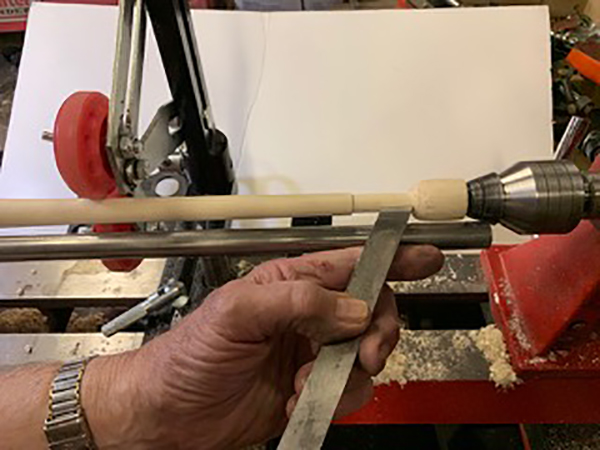
6) Finish the Tip Remove the tailstock cup, move the Follow Rest down to the tip end, slide on the ferrule and glue in place. When dry, turn the ferrule down to about 13mm dia. Part the tip end to a flat surface. Glue on the tip and press with the tailstock end and allow to dry. When dry, turn sand and finish the Cue tip and Ferrule together to the same diameter. 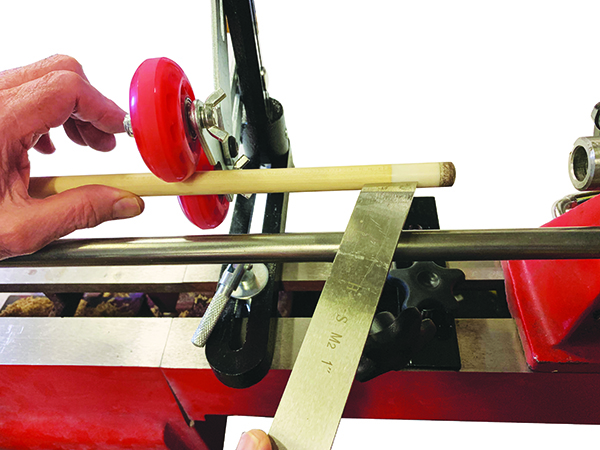
Final Steps Select a weight to insert into the Butt end. The amount of weight is a matter of personal choice, but the weight allows play and break action that the user prefers. Screw the weight deep as possible into the butt end cavity. Cap the butt end by pressing the rubber bumper firmly into the butt end. Your hand turned cue Your hand is now finished! Enjoy your cue! 
|


