
Top 10 Woodturning Tips from Real Makers
Real Turners. Real Advice. Real Results.
These community-powered tips will help you improve your skills, avoid common mistakes, and finish every project stronger. Each one is sourced directly from experienced woodturners—real makers who’ve learned through trial, error, and dedication.
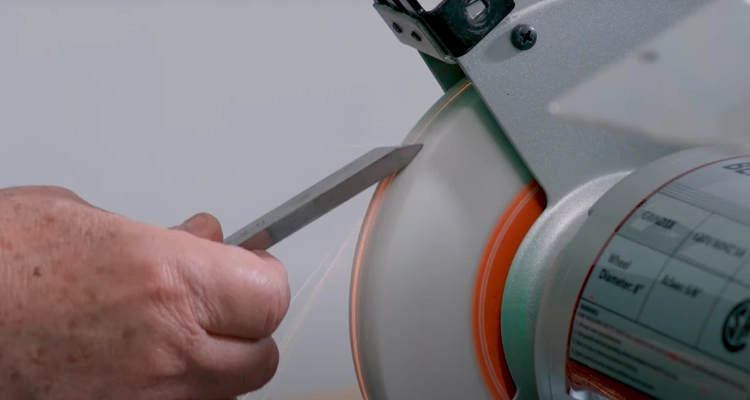
“A sharp tool is a safe tool.” – Charlie
The single most frequent tip from our community was about tool sharpness. Sharp tools provide cleaner cuts, require less sanding, and are actually safer to use because they require less force. Many turners emphasized sharpening more frequently than you think is necessary. Learn how to sharpen your pen turning tools like a pro with this video.
“Take your time, it is not a sprint to the finish.” – Richard
One of the most repeated pieces of advice: slow down. Rushing leads to mistakes, catches, and potential safety issues. Breathe, check your progress, and enjoy the process.
“6 coats medium CA, wet sand 600 to 2000, buff and done.” – Seth
CA (cyanoacrylate) glue finish is the go-to finish for many pen turners and, developing skill with CA glue was highly recommended. Most experts suggest applying multiple thin coats rather than fewer thick ones for the most durable and attractive finish. Get a flawless CA finish on your pens every time with Barry Gross's expert guidance. Watch the complete tutorial.
“Acrylic pen polishing needs to be done at a lower speed setting than cutting – typically no more than 2000 rpm.” – Jonathan
When working with acrylic or resin blanks, use a negative rake carbide tool and make light cuts at higher speeds. Wet sanding is essential for the best finish on these materials. Patrick confirms that "Negative rake carbide tips for acrylics" are essential for clean cuts without chipping. Learn more about negative rake chisels with this video.
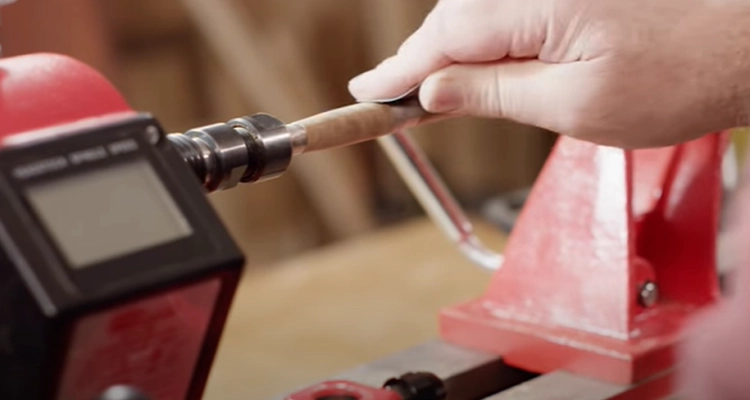
“Drilling on the lathe gives me better results every time.” – Richard
Numerous turners recommended drilling pen blanks on the lathe rather than using a drill press. Use a lathe chuck and drill slowly, clearing chips frequently. This ensures perfectly centered, straight holes every time
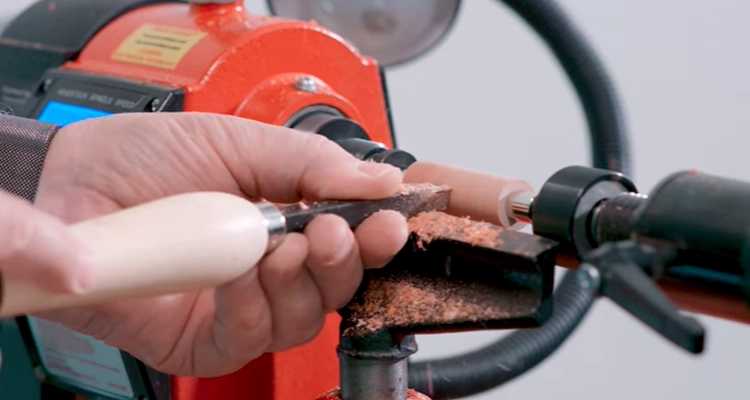
“Sand with the grain to remove radial scratches.” – Adam
Sand with the lathe off between grits. Always go with the grain to eliminate swirl marks and get a finer finish. Never skip grits in your sanding sequence—working through each one systematically results in a much better finish with less overall effort. Master pen sanding techniques with this video guide covering proper speeds, grit progression, and how to achieve a brilliant finish.
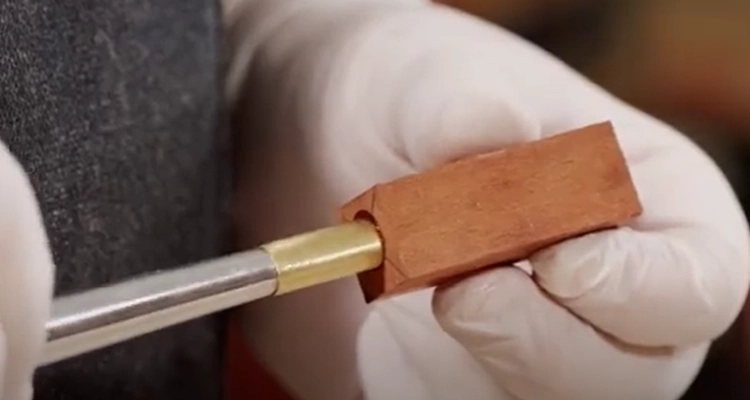
“Epoxy works a lot better and lasts a lot longer than CA glue when inserting brass tubes into the blanks.” – Robert
Poor tube adhesion can destroy hours of work in seconds—tubes pulling loose during turning, spinning during assembly, or failing completely in finished pens. Epoxy prevents these disasters. Epoxy’s superior adhesion to mixed materials eliminates these failures, and its gap-filling properties compensate for imperfect drill holes. For an added bonus, longer working times allow you to perfectly position your tubes without fear of them locking up in the middle of insertion.
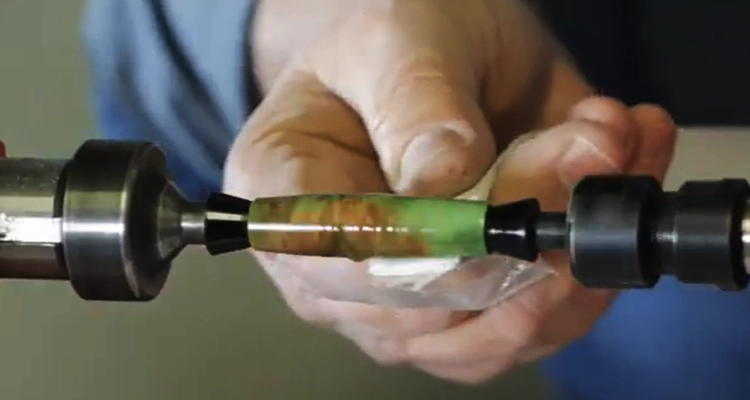
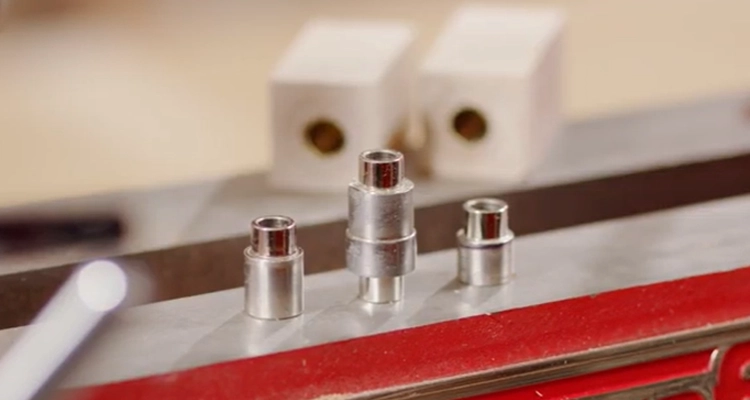
“Put the end of the blank that will become the top of the pen closest to the headstock to ensure it's spinning true and round. This is the end that will be felt the most by the user and any discrepancies between your turned blank and the mating metal component will be noticed.” – Mark
Many turners emphasized the importance of proper bushing techniques. Aligning the top of the blank toward the headstock helps ensure precision where it matters most.
“Add sawdust to worm holes or cracks with CA glue to fill, then sand, makes for a nice look.” – Christy
Don't let small flaws ruin a great piece. Fill small cracks or voids with CA glue mixed with sawdust from the same wood. Sometimes these "fixes" add character and become a design feature!
“Always wear a face shield.” – Bob
Face shields protect from blowouts and debris. Good dust collection keeps your lungs clear—don't skip it.