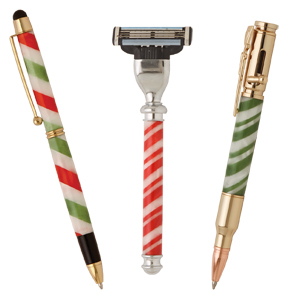
Pen Kits
Turning Project Kits
Pen Turning Supplies
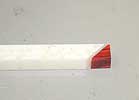
Pen & Turning Blanks
Mini Lathes
Lathe Accessories
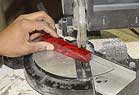
Woodworking Tools
More Ways to Shop
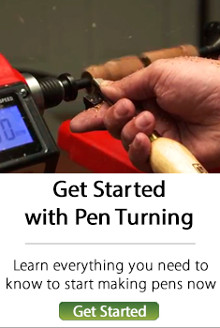
Specials Current Promotions New Products Best Sellers Customer Photo Gallery Shop Interactive CatalogNew to Pen Turning?